Day 1: The Grand Experiment Begins
Baking sourdough bread is like raising a slightly temperamental pet. It demands your attention, thrives on routine, and sometimes, despite your best efforts, it misbehaves. But when it finally rewards you with a perfectly airy, golden-crusted loaf? Pure magic.
As I embark on this journey of baking 1,000 loaves, I have to start where all good sourdough journeys begin: with a sourdough starter. Because without a lively, happy starter, you’re just mixing flour and water and hoping for the best.
To guide this process, I’ll be focusing on five essential factors that control everything in the world of sourdough:
- Time ⏳ – The slow rise builds flavor and structure.
- Temperature 🌡️ – Yeast and bacteria are fussy about their climate.
- Hydration 💧 – More water = softer dough, less water = a firmer loaf.
- Ratio ⚖️ – Precision makes the difference between success and a bread-shaped paperweight.
- Food 🍞 – Because even yeast needs to eat.
Building a Starter: The One-Week Transformation
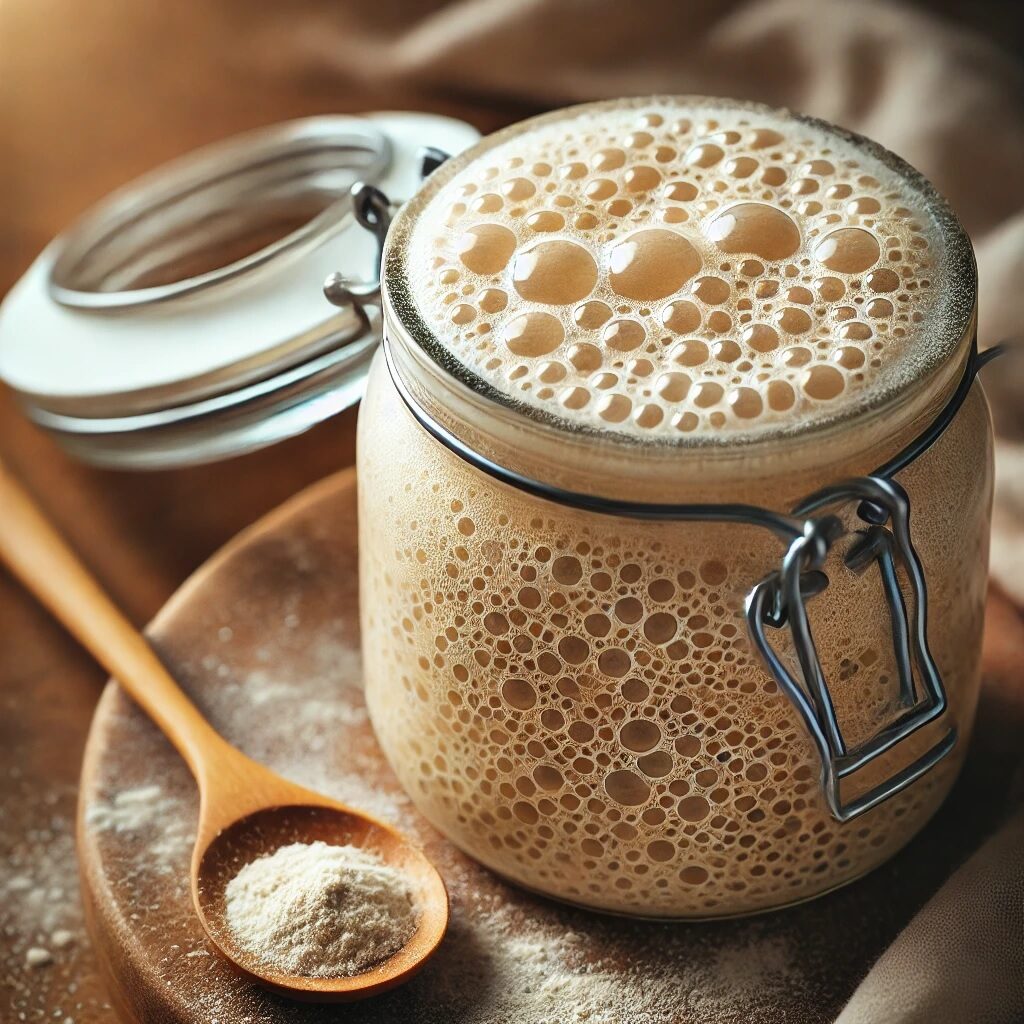
Before we get to the first bake, let’s talk about the foundation of all sourdough bread: the starter. If you don’t have a starter yet, don’t worry—you don’t need some mystical heirloom yeast passed down from a centuries-old bakery in France. You can make one right now, with just flour, water, and a little patience.
Here’s my method for creating a sourdough starter in one week:
Day 1: The Birth of Bubba (Yes, Name Your Starter)
- Mix 60g whole wheat flour and 60g water in a clean jar.
- Stir vigorously (oxygen is good for yeast growth).
- Cover loosely and leave it at room temperature (~70°F or 21°C).
- Walk away. Resist the urge to check it every five minutes.
Day 2: Suspicious Activity
- Check for bubbles. If nothing’s happening, don’t panic. Some starters take a while to wake up.
- Stir it a couple of times during the day (it helps encourage activity).
- No need to feed yet. It’s still figuring out its life choices.
Day 3: The Funk Awakens
- Your starter might smell… weird. Like sweaty socks, vinegar, or even cheese.
- This is normal! It’s just bacteria sorting themselves out.
- Remove half and feed it 60g flour + 60g water.
- Stir and cover loosely.
Day 4: A Small Miracle
- By now, you should see some real bubbles.
- It should smell more pleasant—tangy, slightly sweet, maybe a little yeasty.
- Feed again, same as before.
- If it’s doubling in size after feeding, you’re on the right track!
Day 5-6: Peak Activity
- Your starter should be rising and falling predictably after each feeding.
- If it’s sluggish, move it somewhere warmer (~75-78°F) and give it an extra feed.
- Continue feeding twice a day if it’s really active, once a day if it’s slower.
Day 7: Ready for Bread?
- If your starter reliably doubles in 4-6 hours, it’s go time.
- If not, give it a couple more days of love.

Feeding the Beast (AKA Starter Maintenance)
Once you’ve got a happy, bubbly starter, you’ll need to keep it alive. Here’s my daily routine:
- Remove about half of the starter (this prevents runaway growth).
- Feed with equal parts flour and water (I like 60g each, but you can adjust).
- Stir well and let it rise.
If I’m baking every day, I keep it at room temperature and feed once or twice daily.
If I need a break, I store it in the fridge and feed once a week.
The First Bake: What Could Go Wrong?
Now that my starter is alive and kicking, it’s time for Loaf #1. I’m using a classic beginner-friendly sourdough recipe:
Formula for Disaster (or Maybe a Good Loaf?)
- 500g bread flour
- 350g water (70% hydration)
- 100g active starter
- 10g salt
Process:
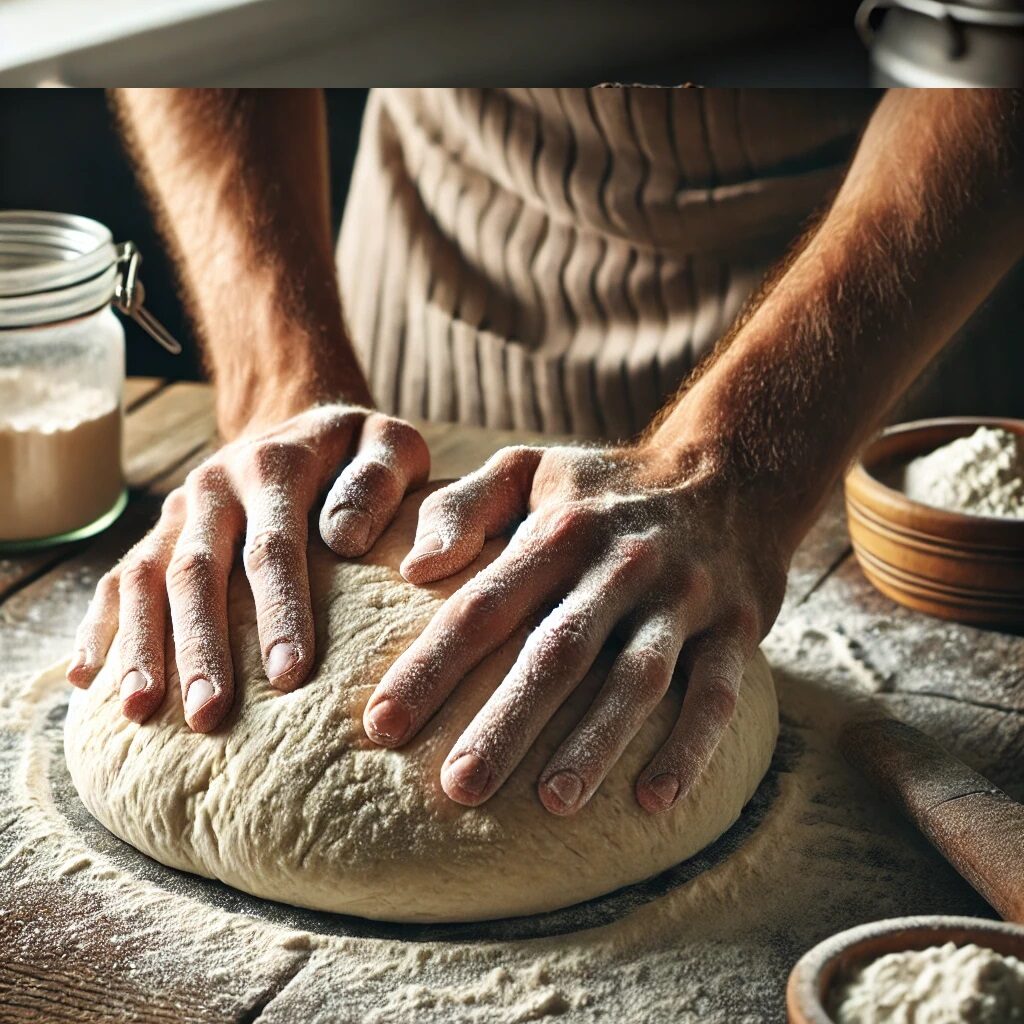
- Mix everything together. It looks like a sticky mess, but trust the process.
- Autolyse (let it rest) for 30-45 minutes to hydrate the flour.
- Stretch & Fold every 30 minutes for 2-3 hours to build structure.
- Bulk Ferment (wait 4-6 hours until it’s puffy).
- Shape & Proof overnight in the fridge.
- Bake in a screaming hot oven (475°F) with steam for the first 20 minutes.

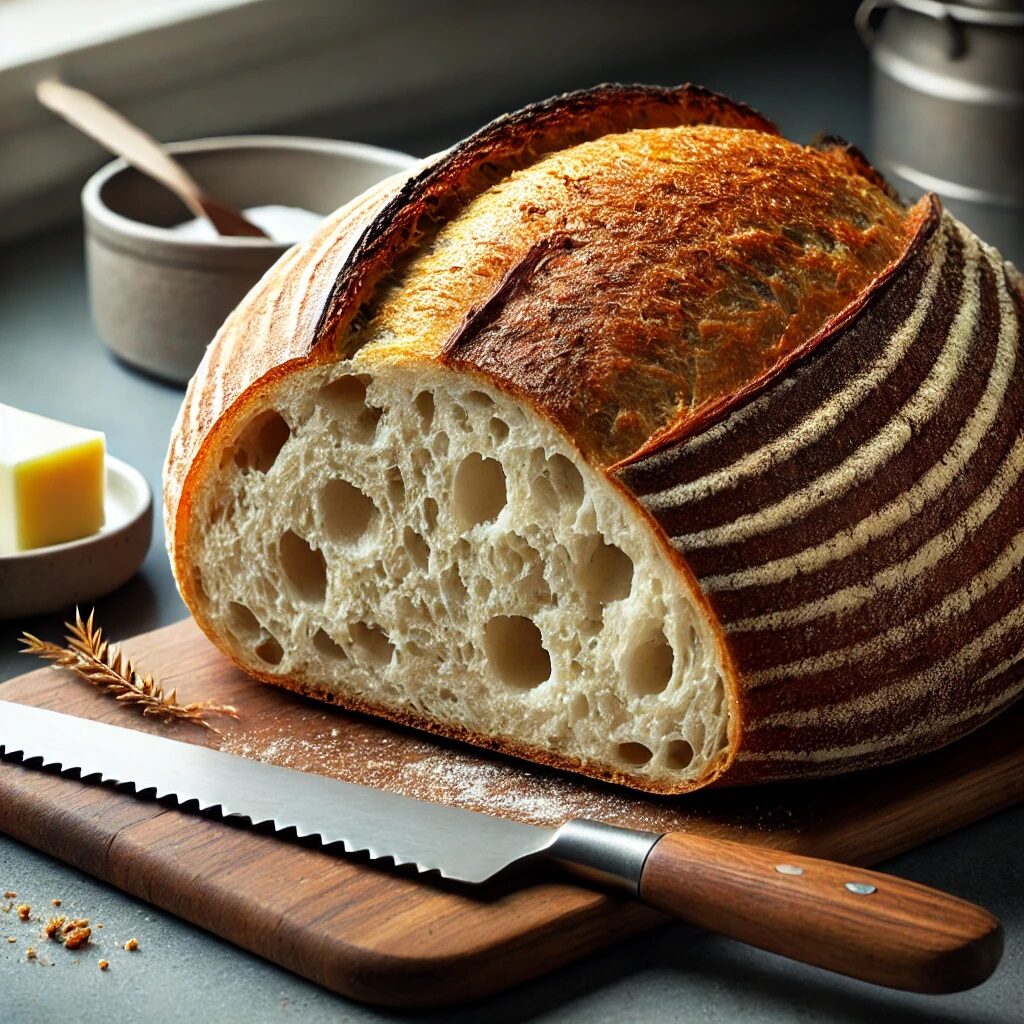
The Verdict: A Beautiful Mess
So, how did my first loaf turn out?
The Good:
✔️ Tangy, complex flavor.
✔️ Beautiful crust with deep color.
The Not-So-Good:
❌ Dense interior (not enough oven spring).
❌ Slightly under-proofed (needed more time to rise).

What I’ll Change for Loaf #2
- More Fermentation Time: I’ll extend the bulk fermentation to allow more gas buildup.
- Better Shaping: My first attempt was a little sloppy. More surface tension = better oven spring.
- Higher Hydration: 70% hydration is good, but I might push to 75% for a more open crumb.
Final Thoughts: The Journey Has Just Begun
One loaf down, 999 to go. Every bake is a chance to learn, tweak, and improve. Bread isn’t just about perfection—it’s about the process, the patience, and the sheer joy of watching wild yeast turn flour into something extraordinary.
I’ll be back soon with Loaf #2. Will it be better? Worse? A complete disaster? Stay tuned.
If you’re baking along, let me know how your first sourdough turned out! What worked? What didn’t? What’s your starter’s name? (I won’t judge… unless you named it “Chad Doughington.”)
Until next time—happy baking! 🍞🔥
